

Setup guide
Connect a Keycloak realm to Ver.iD in six steps and deliver verified wallet claims to your applications.
After this guide, users of every application in the realm can sign in with their digital identity wallet, and the applications you choose receive the wallet's email address and phone number together with their verification flags.
The worked example requests the scopes openid email phone. The same steps apply to every other scope; see Add another scope.
Before you begin
- Complete the prerequisites and keep the placeholder values at hand.
- Decide which realm receives the provider. Start with an acceptance realm and a separate Studio flow, and keep production callbacks and secrets out of it. See Separate acceptance and production.
- Decide which scopes Keycloak requests. The Studio flow defines which scopes each wallet may release. The provider's Scopes field selects the subset Keycloak asks for, always including
openid. The ID token contains only claims that are both offered by the flow and requested by Keycloak.
This guide names the provider verid, the first login flow verid-first-login, the user attributes verid_email, verid_email_verified, verid_phone_number and verid_phone_number_verified, and the client scope verid-wallet-claims. Change them to match your realm's conventions, but keep the alias verid if you plan to use the login button theme.
Create the authentication in Studio
- Create an authentication dedicated to this realm and environment. Add both
emailandphoneto every wallet you offer. Do not offer a wallet that cannot supply both. - If the flow is active, click Deactivate. Open Redirect URIs and add the broker callback exactly as shown under What you need. Keep
https://test.ver.id/authentication/callbackif you use Studio's test tool. - Under Secrets, attach an OAUTH secret.
- Add an active brand, click Activate, and copy the client identifier from Configuration and the secret's Key (as base64url) value.
- Test the authentication with scope
openid email phone. The decoded ID token must containemail,email_verified,phone_numberandphone_number_verified.
Add Ver.iD as an identity provider
- In the Keycloak Admin Console, select the realm, open Identity providers and choose OpenID Connect v1.0. If the realm already has providers, click Add provider first.
- Enable Use discovery endpoint and enter the discovery URL. Keycloak imports the issuer, authorization, token, user info and JWKS endpoints. Leave them unchanged.
https://ssi.oauth.ver.id/.well-known/openid-configuration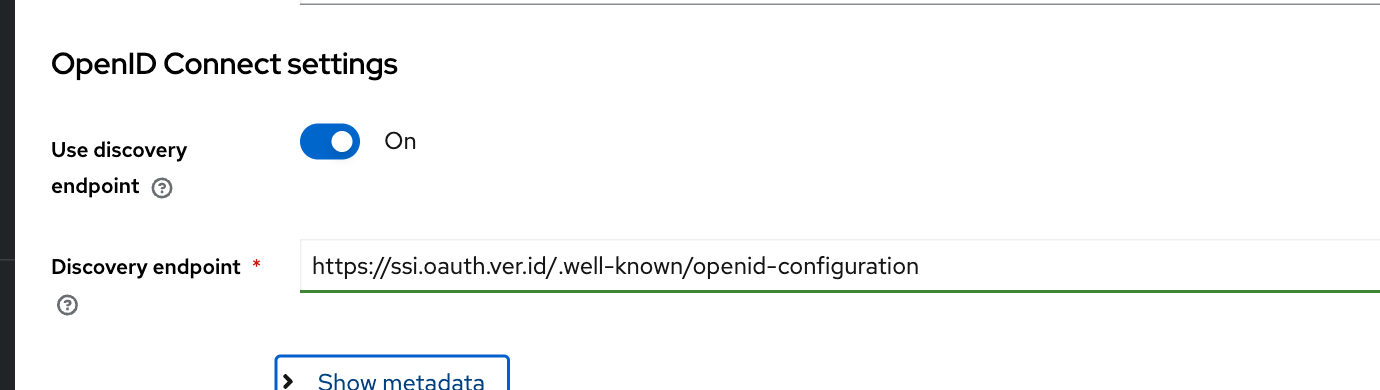
- Complete the remaining fields and click Add.
| Field | Value |
|---|---|
| Alias | verid |
| Display name | Log in with Digital Identity Wallet |
| Client authentication | Client secret sent in the request body |
| Client ID | The flow's client identifier |
| Client Secret | The secret's Key (as base64url) value |
- Open the saved provider and set the following. Validate signatures and Use JWKS URL are in OpenID Connect settings. Use PKCE, Scopes, Disable user info and Disable nonce are in that section's Advanced expander, halfway down the page. Store tokens, Trust Email, Account linking only and Sync mode are in the separate Advanced settings section at the bottom, where step 3 also binds the flows.
| Setting | Value | Why |
|---|---|---|
| Validate signatures | On | Rejects tokens that Ver.iD did not sign |
| Use JWKS URL | On | Follows Ver.iD key rotation without manual updates |
| Use PKCE | On, S256 | Required by Ver.iD |
| Scopes | openid email phone | The claims Keycloak requests |
| Disable user info | On | Ver.iD delivers the claims in the signed ID token |
| Disable nonce | Off | Replay protection |
| Store tokens | Off | Tokens are not needed after login |
| Trust Email | Off | Keycloak keeps its own email verification policy |
| Account linking only | Off | New users may register through the wallet |
| Sync mode | Force | Every login refreshes the imported claims |
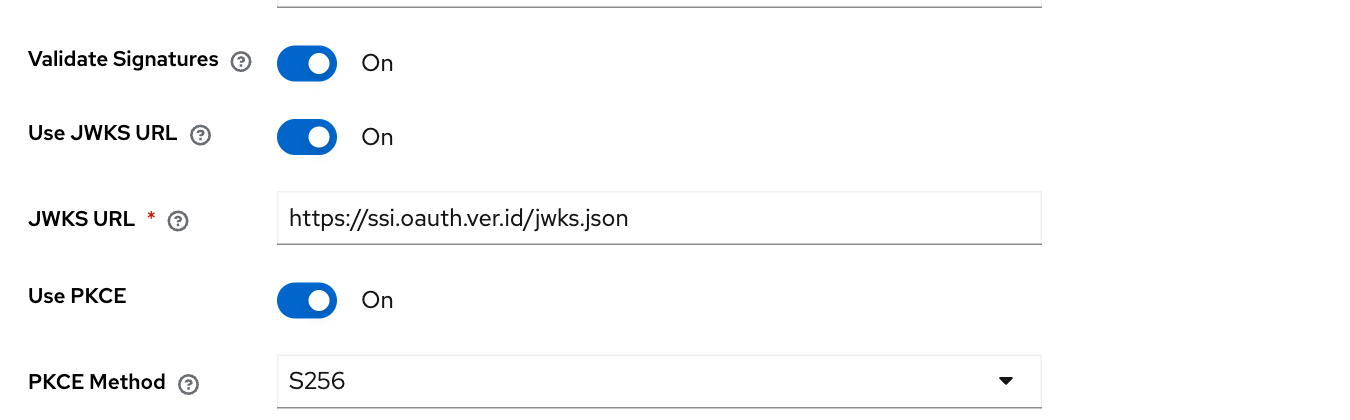

- Click Save. The provider's Redirect URI must equal the broker callback you registered in Studio.
Configure first login and account linking
When a wallet login carries an email address that already belongs to a user, Keycloak's default flow offers to link the two after that user clicks a verification email. Replace it with a copy that accepts only a password or second factor from the existing user, so a compromised mailbox cannot claim an account.
- Open Authentication → Flows, find first broker login and choose Action → Duplicate. Name the copy
verid-first-login. - In the copy, set Verify existing account by Email to Disabled. Leave every other requirement unchanged, including the conditional 2FA and organization branches.
- Open Identity providers → verid, scroll to Advanced settings, set First login flow override to
verid-first-login, keep Sync mode at Force, and click Save.
A new wallet identity now creates a new user. A wallet identity whose email matches an existing user triggers Confirm link existing account, followed by that user's password or second factor.
Store the wallet claims
Keycloak imports the standard email claim into the user's profile, which the user can edit. Store the wallet claims separately as attributes that only administrators can read or change, so a profile edit can never pass as a verified value.
- Open Realm settings → User profile → Create attribute and create the four attributes below. For each, set Multivalued = Off, Required field = Off, Enabled when = Always, and restrict both Who can edit? and Who can view? to Admin.
| Attribute name | Display name |
|---|---|
verid_email | Wallet email |
verid_email_verified | Wallet email verified |
verid_phone_number | Wallet phone number |
verid_phone_number_verified | Wallet phone number verified |
- Open Identity providers → verid → Mappers → Add mapper and create the four mappers below. After saving a mapper, return to Mappers and click Add mapper for the next one. Leave Allow Nullable Property off.
| Name | Mapper type | Sync mode override | Claim | User attribute name |
|---|---|---|---|---|
| Wallet email | Attribute Importer | Force | email | verid_email |
| Wallet email verified | Attribute Importer | Force | email_verified | verid_email_verified |
| Wallet phone | Attribute Importer | Force | phone_number | verid_phone_number |
| Wallet phone verified | Attribute Importer | Force | phone_number_verified | verid_phone_number_verified |
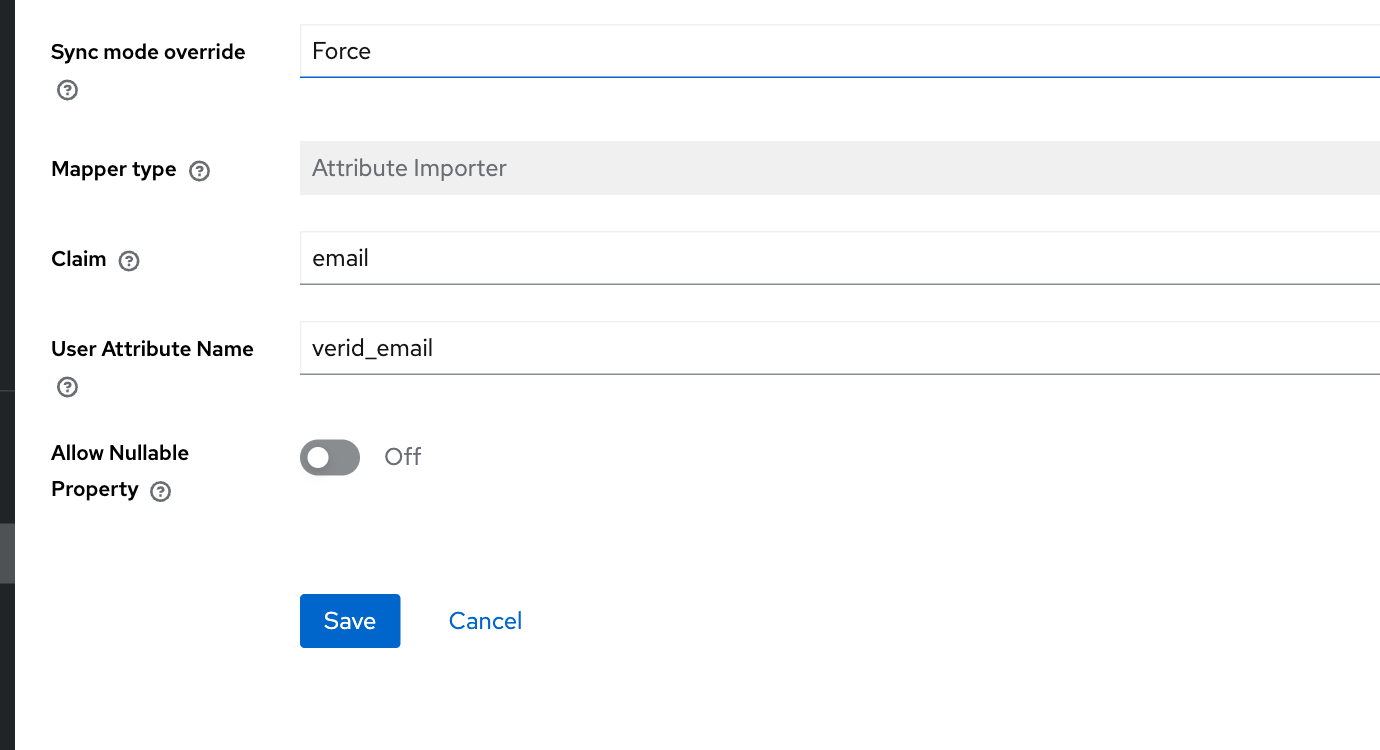
With Force, every wallet login overwrites the four attributes and removes a value whose claim is absent. Boolean claims are stored as the strings true and false.
Test the login
- Close every private browser window, then open a new private window so no Keycloak session exists.
- Open
<keycloak-base-url>/realms/<realm>/account/. If the Account Console shows a welcome page, click Sign in. - Click Log in with Digital Identity Wallet and approve the request in your wallet with the email and phone credentials.
- Complete any profile fields Keycloak asks for. You return to the Account Console signed in.
- Open Account security → Linked accounts and confirm the provider is linked.
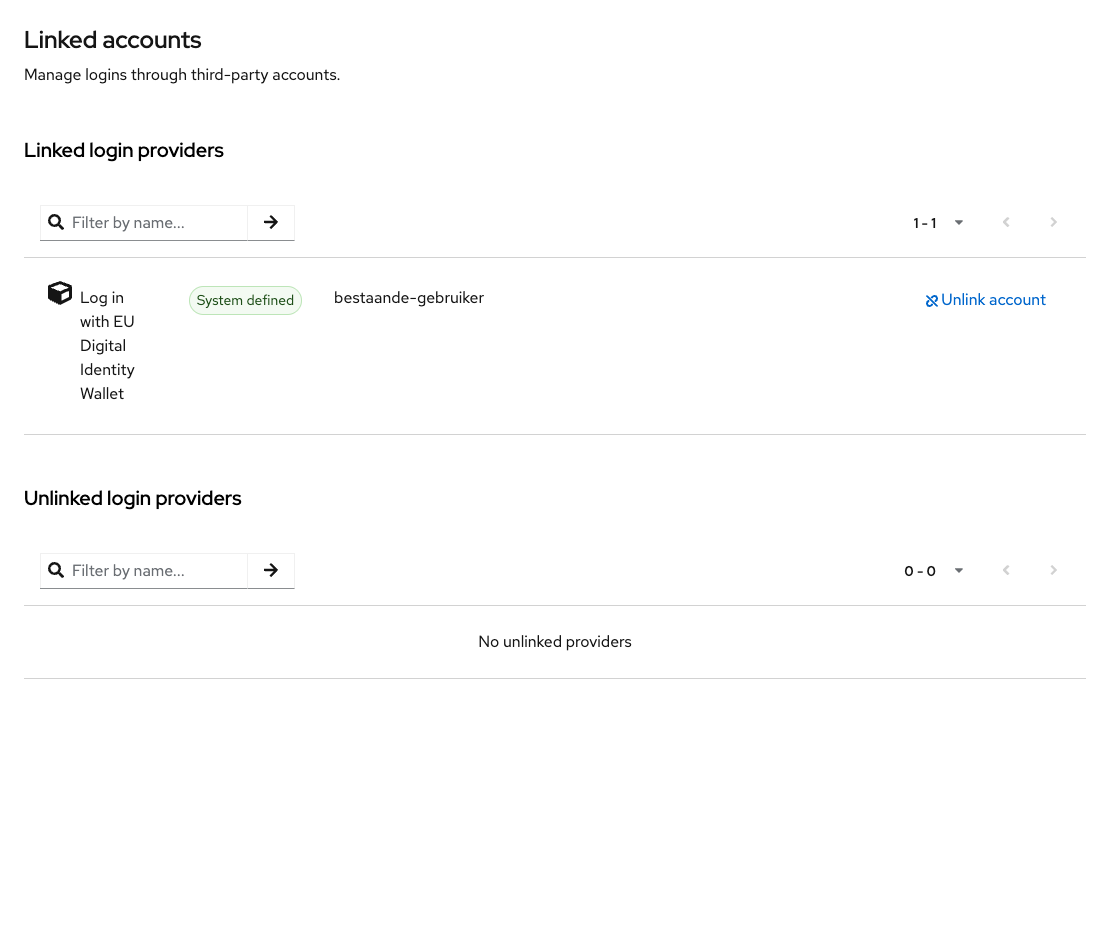
- In the Admin Console, open Users, select the new user and check Attributes.
| Check | Expected result |
|---|---|
The four verid_* attributes | The wallet's email address and phone number, both flags true |
| Identity provider links | verid is linked |
| Sign in again with the same wallet | The same user, no duplicate |
| The user's own profile in the Account Console | The verid_* attributes are neither visible nor editable |
| Cancel the request in the wallet | The user is not signed in |
If you have no wallet with email and phone credentials yet, use Yivi. It issues both credentials to any wallet holder after verifying the address and number inside the app, so a personal Yivi wallet is enough for this test.
Deliver claims to your applications
Expose the wallet attributes through a dedicated client scope and assign it only to the applications that need them. Shared scopes such as the built-in email scope expose the editable profile email, not the verified wallet copy.
- Open Client scopes → Create client scope. Name it
verid-wallet-claims, set Type to None and Protocol to OpenID Connect, and save. - Open the scope's Mappers tab, choose Configure a new mapper → User Attribute, and create one mapper per attribute. Set Add to ID token = On, Add to access token = Off and Add to userinfo = Off.
| Name | User attribute | Token claim name | Claim JSON type |
|---|---|---|---|
| Wallet email | verid_email | wallet_email | String |
| Wallet email verified | verid_email_verified | wallet_email_verified | boolean |
| Wallet phone | verid_phone_number | wallet_phone_number | String |
| Wallet phone verified | verid_phone_number_verified | wallet_phone_number_verified | boolean |
- Open Clients, select the application, open its Client scopes tab, click Add client scope, pick
verid-wallet-claimsand add it as Default. - Open Clients → your application → Client scopes → Evaluate, select the test user and open Generated ID token. The four
wallet_*claims are present. Repeat for an application without the scope and confirm they are absent.
Use the claim names your application expects. Enable Add to access token or Add to userinfo only for an application that reads claims there.
Next steps
- Require verified claims to block logins whose wallet claims are missing or unverified.
- Add another scope for names, addresses or identifiers.
- Customize the login button with the wallet icon and label.
- Separate acceptance and production before rolling out.